
This guide shows you how to install the RDA USB Driver on a Windows computer. It works on Windows 11, 10, 8.1, 8 and 7, and lets the computer detect RDA smartphones, feature phones and tablets.
Install the RDA USB Driver
- Download the RDA Driver package and extract (unzip) it to a folder you can find easily, such as the Desktop. If you have already done this, skip to the next step.

- Open the extracted folder. To check whether your Windows is 32-bit or 64-bit, open Settings > System > About and look at System type.
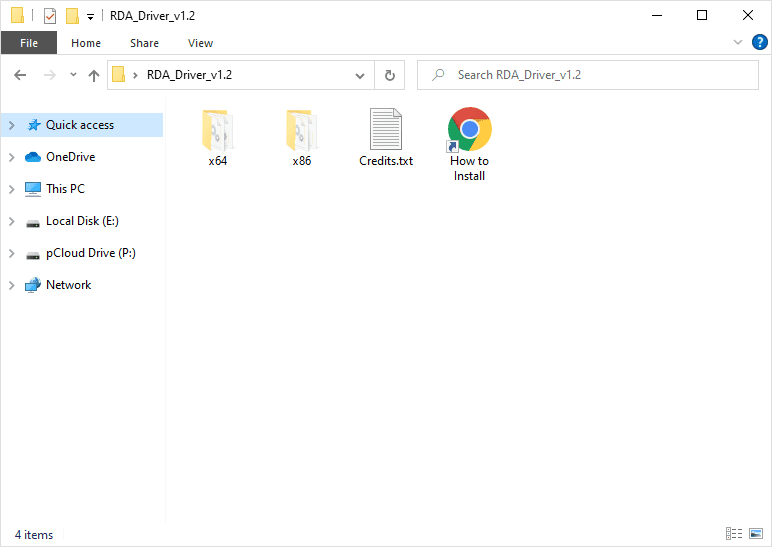
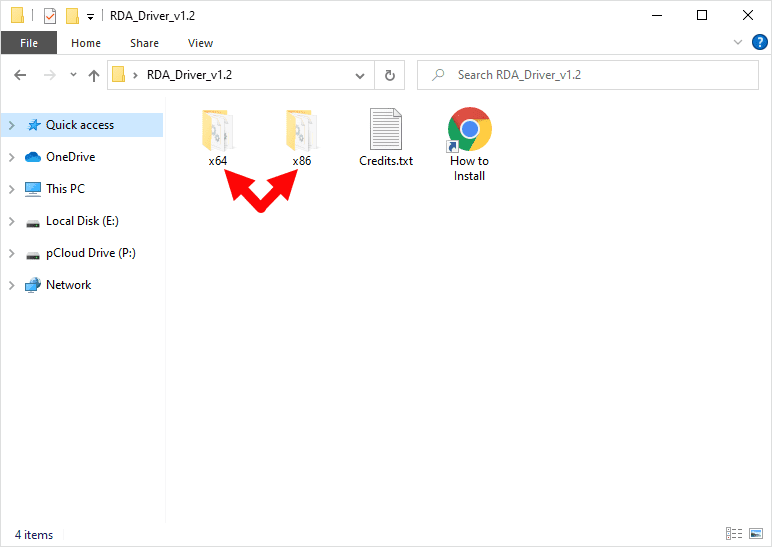
- Open the x64 folder on 64-bit Windows, or the x86 folder on 32-bit Windows.
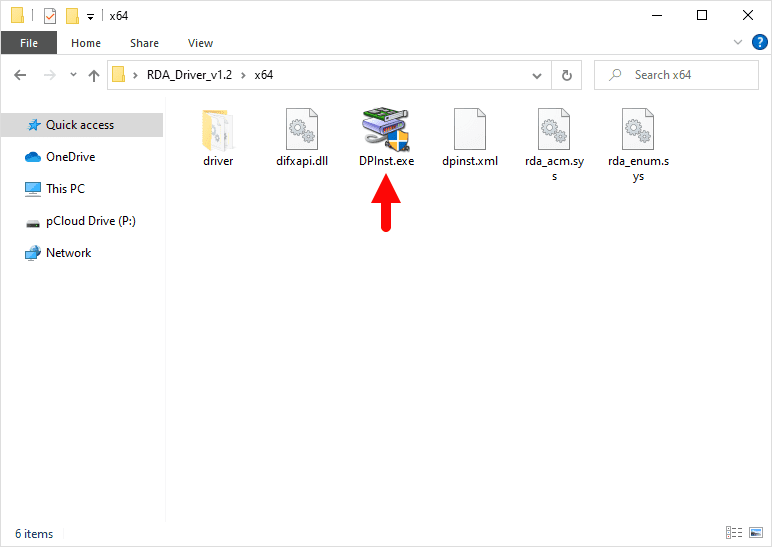
- Double-click DPInst.exe to open the setup window.
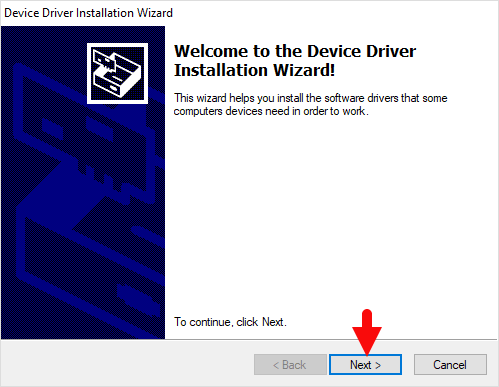
- Click Next to start the installation.
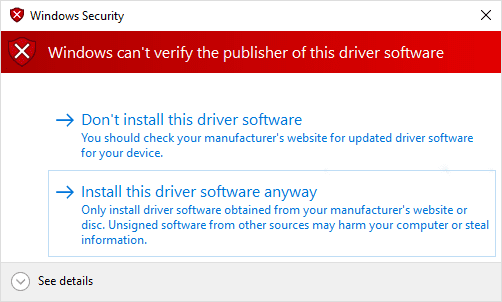
- If Windows warns that it cannot verify the publisher, click Install this driver software anyway.
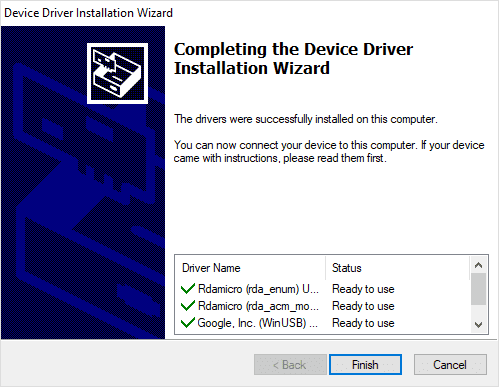
- When the installation is complete, click Finish.
- Restart the computer.
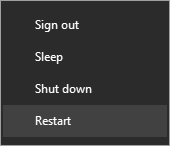
Once the computer has restarted, you can connect your RDA device to the computer and use it with flash tools.
Readme Once
- Driver Signature Error: If Windows refuses to install the driver because it is not digitally signed, follow the How to Fix Driver Signature Error guide and then try again.
- Driver Easy: If you still have trouble with the USB driver, you can use the Driver Easy application to find and install the required drivers automatically.
- Credits: The RDA Driver is created and distributed by RDA Microelectronics, Inc. All credit goes to them for making the driver available for free.